Tuesday, April 8, 2014

Splatter Nails How To & Impress Manicure Review


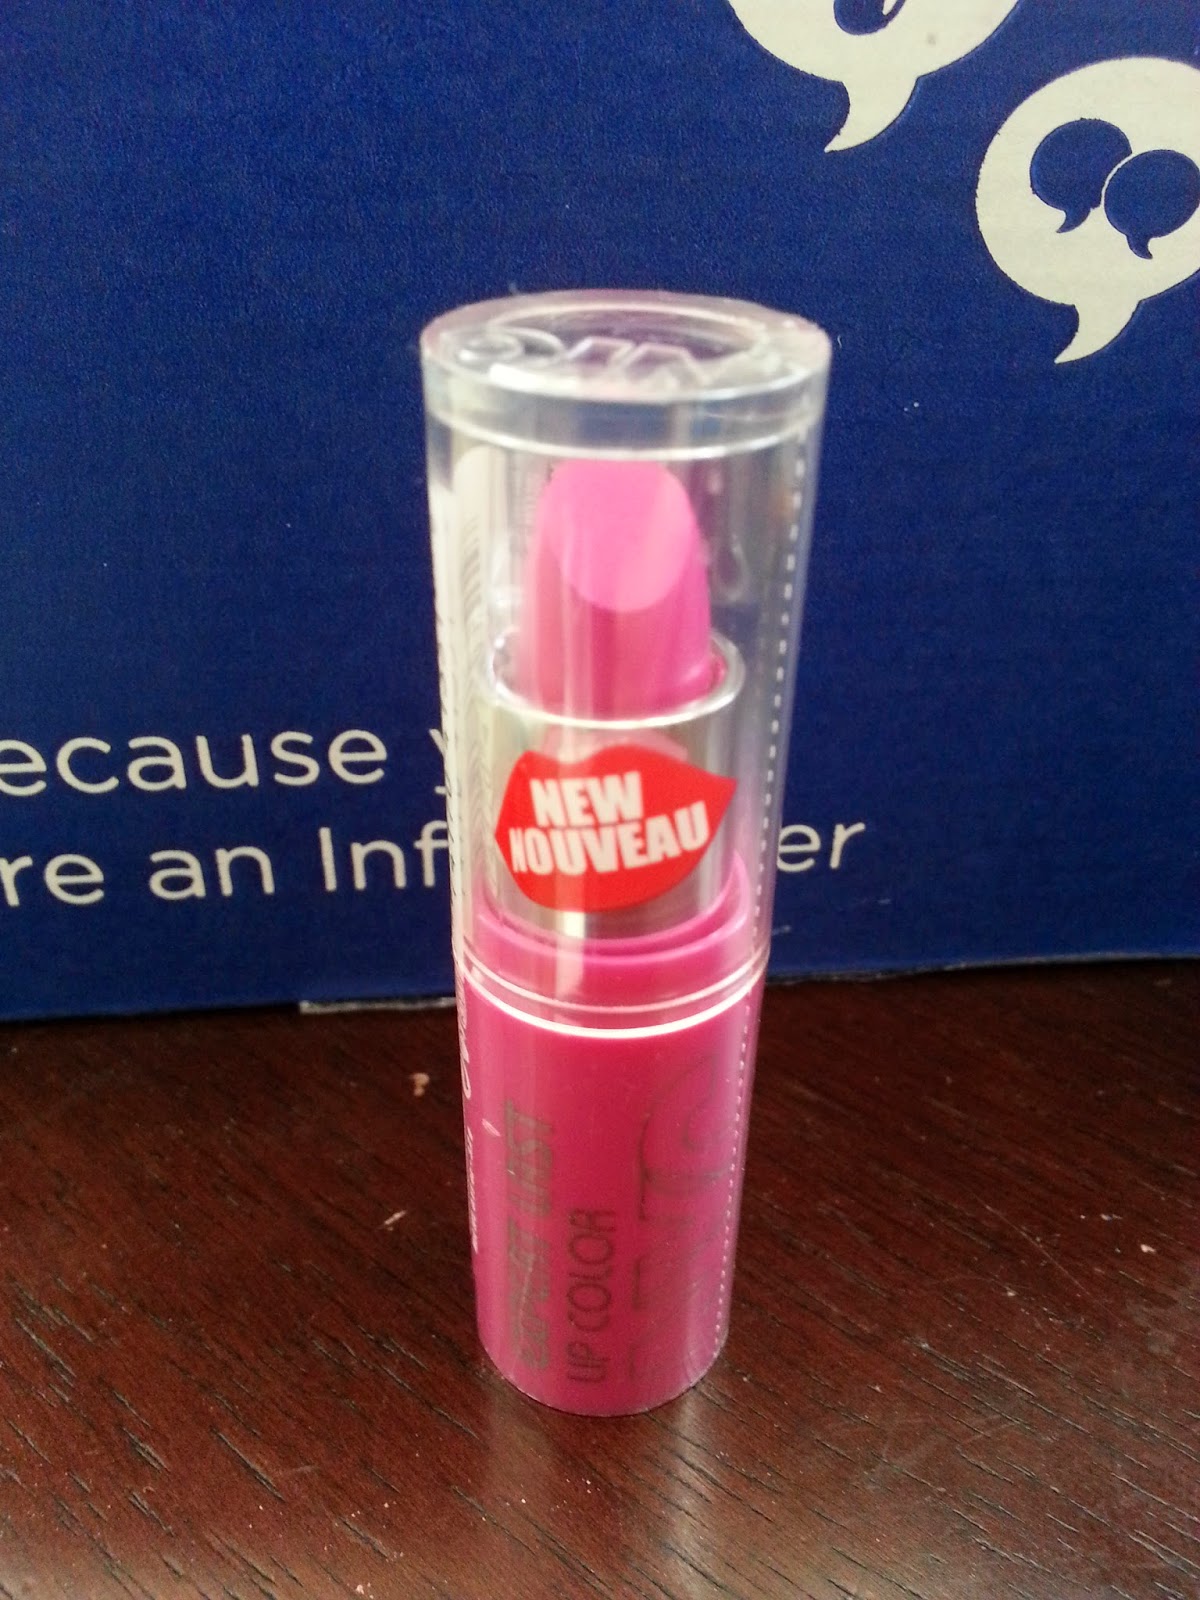
I received these Impress Press-On Manicure in my Influenster University VoxBox. The kit came with 24 nails to choose from in 12 different sizes, as well as a prep pad. The prep pad is to be used right before application to help clear your nail of any oils and to help make the glue adhere better. The Impress nails features include, a short nail length (which I prefer), no glue needed (because the adhesive is already in the nail), won't damage your natural nails, can be easily removed and lasts up to a week. I am usually not a fan of fake nails because I don't like what the glue does to may natural nails. The glue that is included with other fake nails often makes my natural nails peel and weaken like crazy. However, with Impress nails there is already a glue on it and this adhesive didn't seem very damaging from my experience.

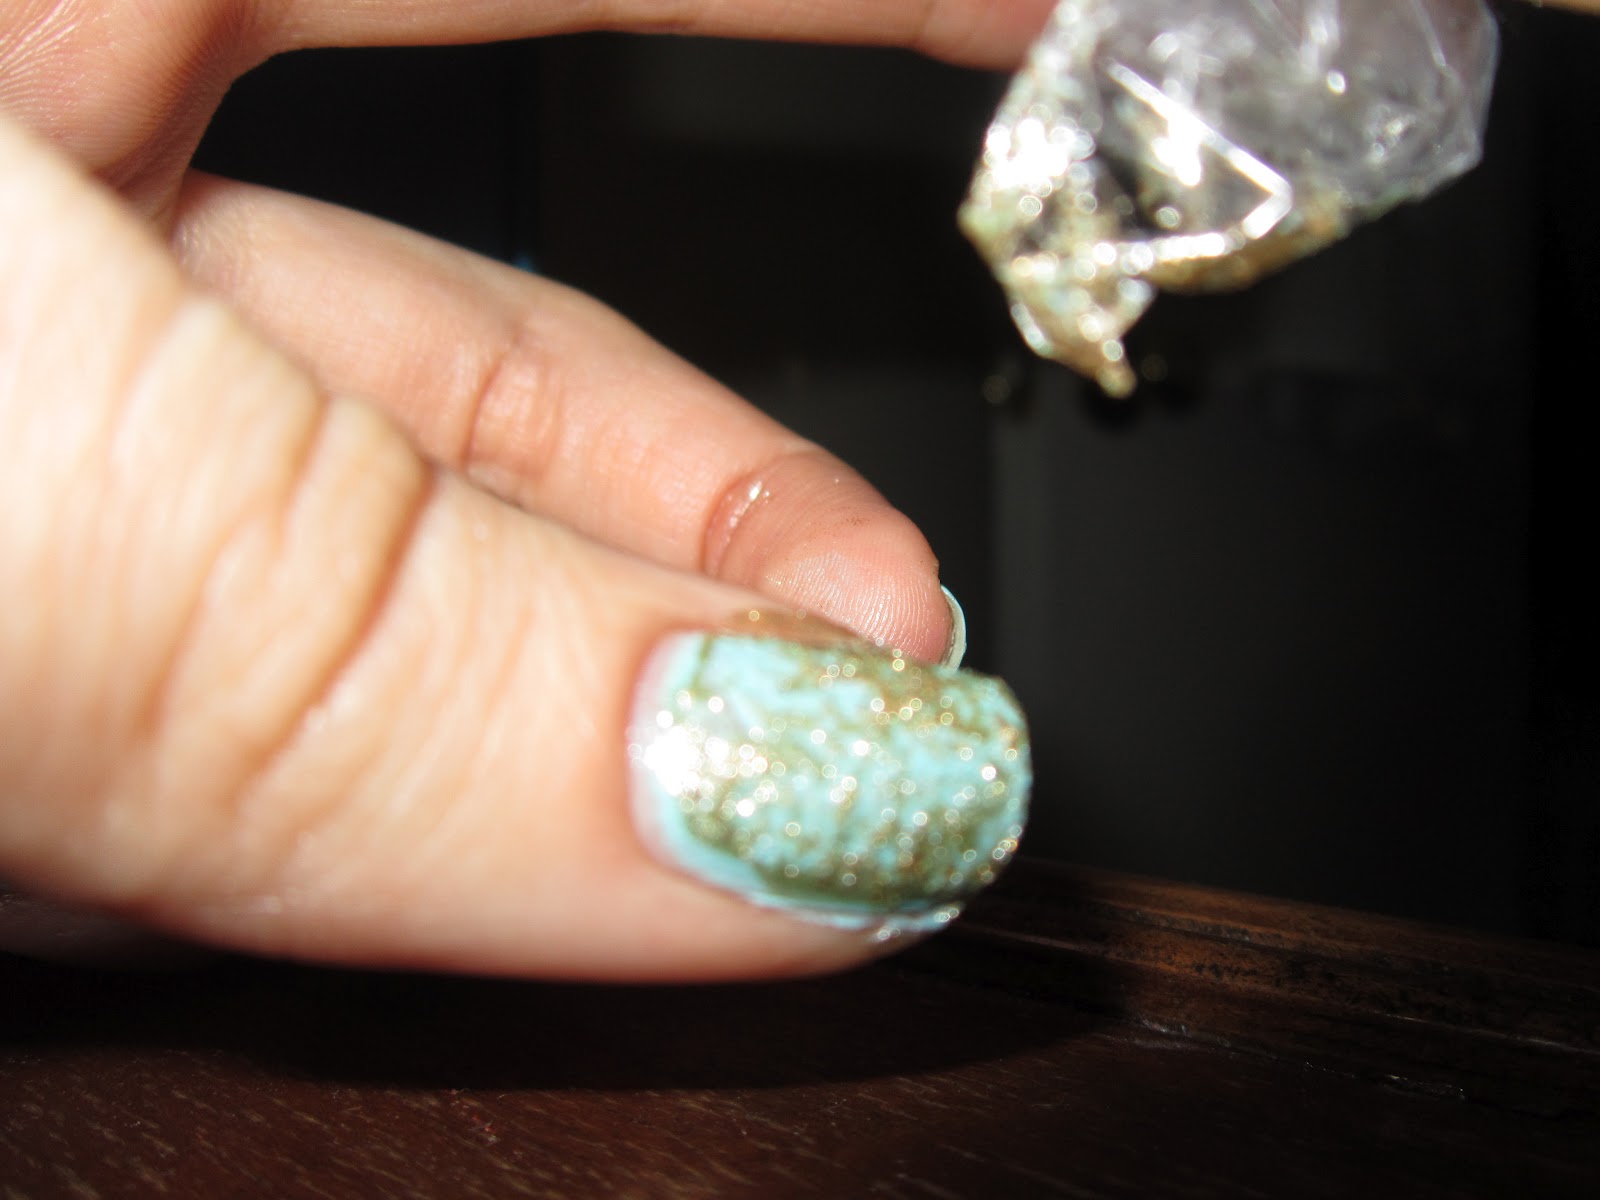
I got violet colored nails in my UniVoxBox, which were pretty, but not really my style. To change it up a bit and make it more my style I decided I would do a splatter paint design on my nails. I decided to go with a light blue (Sally Hansen Breezy Blue), hot pink ( Sinful Colors in Fusion Neon), light pink (Revlon ColorStay in Cafe Pink) and a glitter polish (Funky Fingers in Sand and Stilettos) to make the splatters. To make the splatter effect I first had to dilute the polish a bit. I used a small plastic cup to put the polish of my choice and some nail polish removed. The nail polish remover thins out the polish and makes it easier to splash. I used a small nail art brush to dip in the color of my choice and flicked the brush to create the splatter effect. If you do not have a nail art brush you can also use a straw to get a similar look. I tried moving the brush closer and further from the nails to get a different effect. I also layered the colors until I was happy with the look. A great thing about doing this design to artificial nails is I could do my design easier because they didn't have to be on my hand as I did them. Since the splatter effect can be quiet messy it is important to make sure you tape off the area around your nails or be prepared to clean up your cuticles. It is also helpful to put some paper towels or paper down to catch any dripping nail polish. 

My overall experience with Impress was pretty good. The application was super easy and I did really like that I did not have to use the typical nail glue. The nails were comfortable to wear and I also liked that changing the style was very easy. My splatter design did not chip at all during the time I wore the nails. My only complaint is the nails only lasted 3 days, it could be because I do use my hand very often (doing the dishes, laundry, ect.) but, this did seem like a short time. When they started to come off it really didn't bother me though because it was about time to change my manicure anyways. 


Tuesday, April 1, 2014

Water Color Nails: How To

First I started out with plain white nail polish on my nails. I decided to make my ring finger silver because I wanted to add some silver glitter. You can choose to keep them all the same, but I like to mix and match my manicures. The white nail polish is Sally Hansen "Hard as Nails" in the color "White On". The silver is Revlon Colorstay "Long Wear Nail Enamel" in the color "Sequin".


To make the water color effect you will need a regular makeup sponge. I like to just cut a piece of one, so I don't waste the whole sponge. I use these sponges a lot for different nail looks so I don't want to feel like I am wasting them. You will also need 3 to 5 colors of you choosing. I wanted to go for a more spring/pastel water color. The mint color is Wet n Wild "Megalast" in "I need a refresh-mint", the pink is also from Wet n Wild in the color "Candy-licious". The next two colors are both Sally Hansen "Xtreme Wear". The blue is in the color "Pacific Blue" and the purple is "Violet Voltage". You then just dab a few drops of each color onto the sponge. I notice doing it in layers gives you the best effect. So let some colors soak in the sponge then add a second layer. Make sure to also randomly put the color down, you don't want it to end up with just one color in a particular section.

Once you have the colors on the sponge you immediately dab the sponge onto your white painted finger nail. Press it down a few times and you should notice the color has transferred. Continue with this process on the rest of your white painted finger nails. You will need to clean your cuticle with nail polish remover because it will get on more than just on your nails. To seal in the design and to make the effect complete add a clear top coat of your choice.


The Finished Look 

I decided to add Funky Fingers "Jawbreaker" to my pinky and thumb. I love this color its a milky color with lots of fun different colored and sized hex glitters. The colored glitters matched my water colored nails very nicely. The color I choose to top the silver was "Sand &Stilettos", also by Funky Fingers. This color is so pretty because its a fine glitter that has a bit of a 3-D effect. Follow me on Istagram if you like this nail look, I have many more there!


Thursday, March 27, 2014

What I ate Wednesday


Most mornings I start with oatmeal with some fruit for breakfast. Today's fruit choice was raspberry and pineapple. My favorite brand at the moment is Abundance in maple brown sugar. I also like to add about a teaspoon of flax seeds and chai seeds. But, before I eat I always drink a large glass because it is supposed to help with digestion also its great for your skin so why not? No breakfast is complete for me without my green tea. Another must, because its filled with wonderful antioxidants.  I will also drink about an addition two cups of iced green tea through out the day and tons of water.


Lunch for me is typically a salad, nothing too fancy, but I always add beans for some protein. I used to just cut up some lettuce, tomato, and cucumber and called it a salad, but I was missing out. I recently found Wegmans salad mixes and I am in love! Not only are the super convenient (all ready washed and chopped-how perfect) but, the price was great as well at 2 for $5. To top my salad I typically add light raspberry salad dressing, which is so yummy! Not pictured is a clementine, a handful of carrots, and a Quacker chewy bar. 


Dinner is always different, because I cannot eat all my meals the same everyday, that would be just too boring. Tonight I made steamed vegetables (broccoli, carrots, zucchini, and mushrooms) with whole wheat pasta and some tomato sauce. I also had a fresh tomato with some extra virgin olive oil and black pepper along. And last, but not least a veggie burger.


After my dinner I drank two litters of this detox water Blogilates shared on her facebook page. This water has mint, lemon and cucumber, it calls for oranges as well, but I didn't have any. It is supposed to help with digestion as well as provide some extra energy and add some glow to your skin. What I like the most about this drink is how refreshing it is, it will be perfect for the summer time!


Wednesday, March 26, 2014

Uni VoxBox Unveiled!


I received my first Infuenster box today and I couldn't be more excited!! I love that my first box is the Uni VoxBox because at this point in my life it all seems to revolve around college. It feels like everything I do now a days is for my classes, but it should pay off soon since I am graduating this semester!


My very first impression of my box is pure joy because I can actually see myself using every product. I also think Inflenster did a great job of adding things that any college girl would love not to mention need to make their life a bit easier. I also liked that there was an added sheet in the box that described these products and provides retailers and pricing.


 Rimmel London Stay Matte Liquid Mousse Foundation in Light Procaine was the first product I saw. I am not big on foundation unless it feels very light on my skin. I just can't stand the feeling of the product weighing down my face. However, I did test this foundation out on the back of my hand and it feel very light and smooth on my skin so I think this will work out very well for me. Full review will be coming soon after I have a chance to test it out more.


Next up is Red Rose Real Tea Premium Water Enhancers in Black Tea. I have never heard of these squirt water enhances in a tea version, I have only seen the energy drink and juice ones so this was pretty interesting. I also love that their are no artificial sweeteners in this product because artificial sweeteners can give me headaches. Another interesting thing about this product is that it says it can be used hot or cold, with products like this I have only seen it used cold. I haven't had a chance to try it yet, but I am a huge tea drinker so it should be well enjoyed.


This NYC New York Color Expert Last Lipstick is the product I am most excited about. I am a huge lipstick fan, some would say I have too many, but I like to have options. I am so happy with the color this is called "Forever Fuchsia" and this bright color should be perfect for spring, if spring ever comes (there is still snow on the ground here). I have been wearing it today and so far it is great! The pigmentation is wonderful and it seems to have a great staying power. I'll have a full review later when I have more time to test it out.


The next product in my box was the Pilot Acroball Pure White Pen. As you can see I got the golden yellow color, I was hoping for the pink, because it is my favorite color. Even though I didn't get the color of my dreams I am still happy with this pen. I mean who can say no to a good pen? Especially when it writes so smoothly. This product fit the university theme perfectly! Every student needs a great writing utensil.


When I was i n high school I would used artificial nails all the time because I loved the long nail look. However, I had to stop because the nail glue would ruin my nails so my hopes of having natural nails grow out to a nice length. Since then I have not used artificial nails with the fear of further ruining my natural ones. So I am interested in these Broadway Nails imPress Manicures. It already has the glue applied, but it is not as harsh on the nails as regular nail glue, so they are also easier to take off when you get bored of them. However, the staying power is supposed to be up to a week. I have not gotten a chance to wear them yet, but they sound fun. My only complain is the color, I really wish it was a light or pastel color, but that is just my preference. I will have a full review after I get a chance to try them out.

The last product in my box definitely was the most random to me. Playtex Sport Fresh Balance Tampons, I would not expect this to be a product I would find in my box, but honestly I am pleasantly surprised. I usually us Playtex Sport or Tampax Pearl anyways so this was great. The added fresh balance and order shield is a nice added bonus, because lets face it ladies, we always want to feel fresh no matter the time of the month. I love the Playtex Sport for the simple fact that they are so comfortable, it feels like nothing is there.


Everything I received


Some lovely coupons that were also included. 


Overall I am extremely happy with all my products and I cannot wait to test them out further. I received these products complimentary from Infuenster for testing purposes. Thank you Influenster!! I love my first box!


Monday, July 30, 2012

Saran Wrap Manicure: How-To

I get bored of my nail polish very easily so I tend to change it every three days or so. I also get bored with painting my nails only one color, therefore I like to experiment with glitter and such. I go for nail designs that don't really take much skill to accomplish because even though I love those elaborate nail designs some people can create I do not have  a steady enough hand nor enough time in my day for most of them. Today I decided to try something I have never tried before, I have seen this technique before and I am pretty sure it is referred to as the saran wrap manicure. I was inspired to finally try it out when I saw that Nikki from Nikkitutorials wore it in one of her newest videos here. You will need to  choose two colors for this look, any two colors you like will do.


Start off with a base coat of your choice, I have been using this one by Ruby Kisses in Ultra Growth and I purchased it from Miz Outlet.


Next I applied two coats of Wet n Wild's I Need a Refresh-Mint. In the pictures it comes off a bit more blue than it really is.


So once the polish has dried completely you are going to take a piece of saran wrap, about 4 inches by 4 inches was enough for me. Then you will apply a thin layer of your second color, I used Golden-I by Sally Hansen.


Right after you apply your second color start patting the saran wrap all over your nail. Sorry this picture is so blurry, it is really hard trying to show the process of patting the second color.


Once you are satisfied with the look of your nails apply a top coat. I used Sally Hansen's Insta-Dri then cleaned up the nail polish that got on my cuticles with nail polish remover and a Qtip.


The finished result:


                     Indoors No Flash                                                                  Indoors Flash


                        Natural Light Flash                                           Natural Light No Flash 


I would love to see if anyone else tries this out, so if you do please post a picture.


-Kayla