Start off with a base coat of your choice, I have been using this one by Ruby Kisses in Ultra Growth and I purchased it from Miz Outlet.

Next I applied two coats of Wet n Wild's I Need a Refresh-Mint. In the pictures it comes off a bit more blue than it really is.


So once the polish has dried completely you are going to take a piece of saran wrap, about 4 inches by 4 inches was enough for me. Then you will apply a thin layer of your second color, I used Golden-I by Sally Hansen.

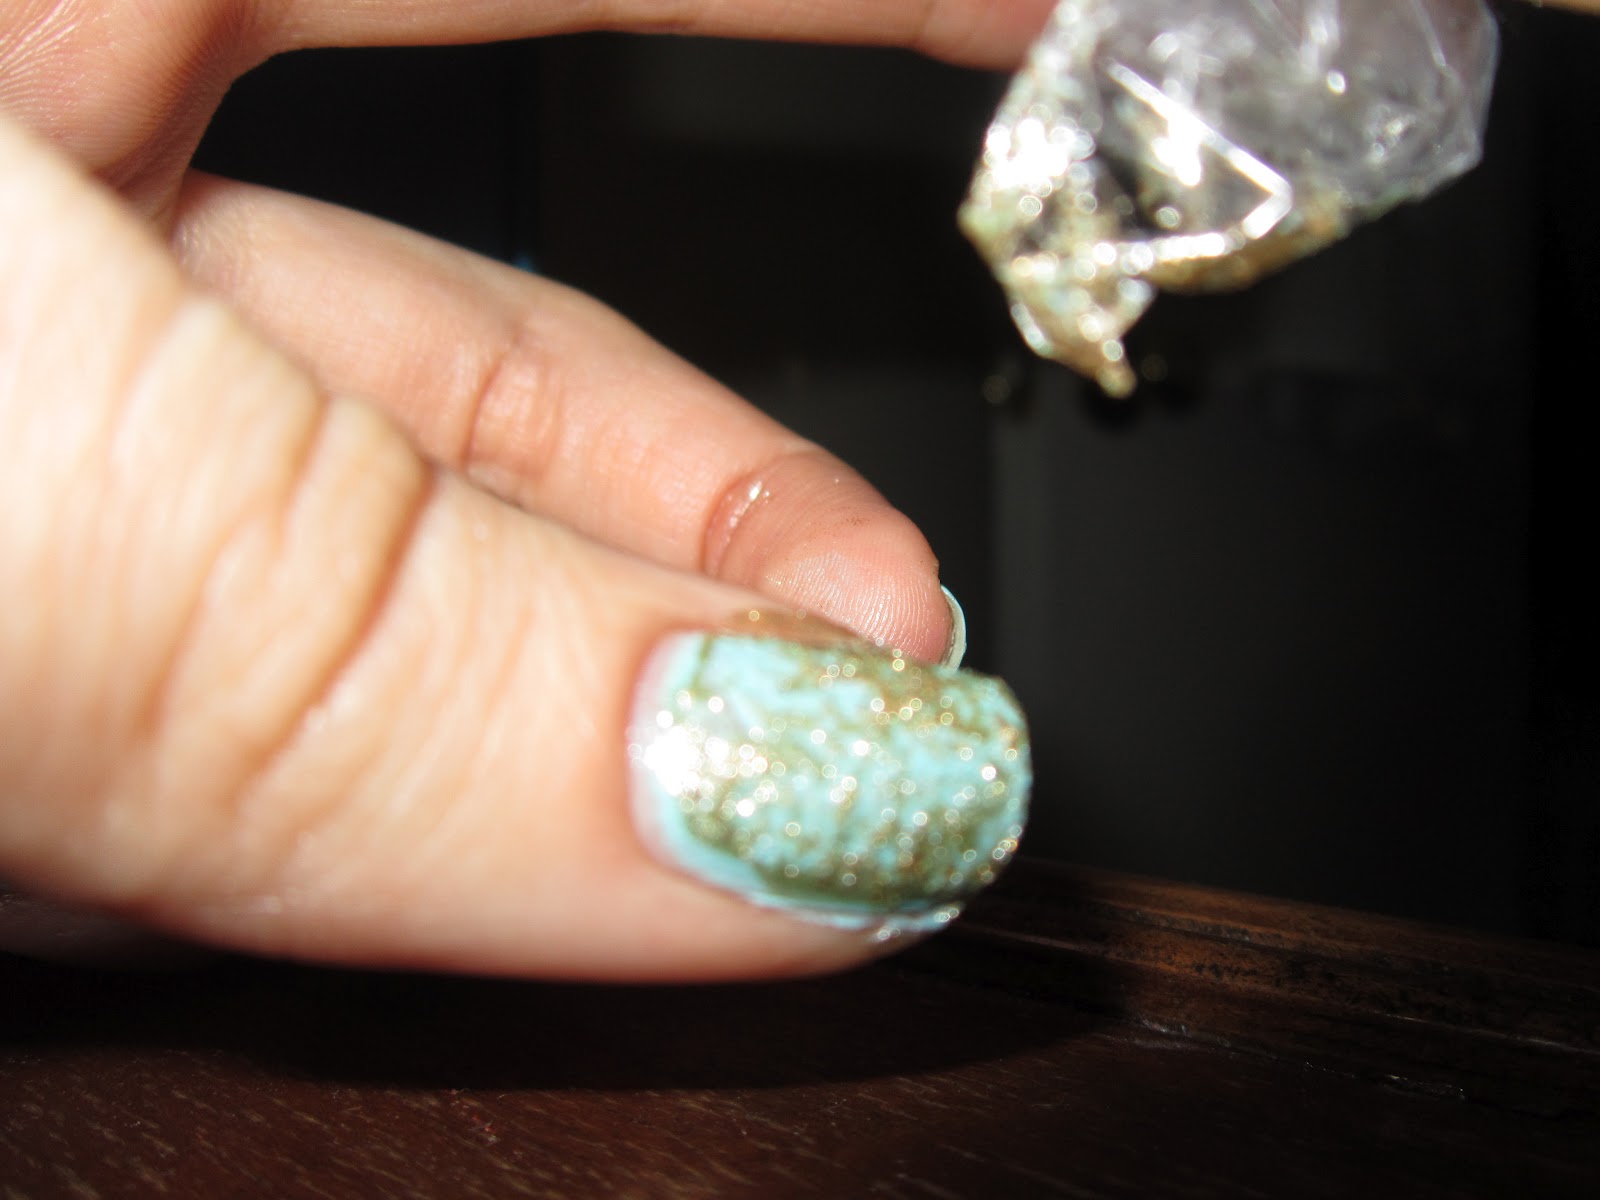
Right after you apply your second color start patting the saran wrap all over your nail. Sorry this picture is so blurry, it is really hard trying to show the process of patting the second color.
Once you are satisfied with the look of your nails apply a top coat. I used Sally Hansen's Insta-Dri then cleaned up the nail polish that got on my cuticles with nail polish remover and a Qtip.

The finished result:


Indoors No Flash Indoors Flash


Natural Light Flash Natural Light No Flash
I would love to see if anyone else tries this out, so if you do please post a picture.
-Kayla
Kayla I don't understand what you did with the saran wrap, could you please elaborate on that?
ReplyDeleteOf course. So once you apply that second nail polish color (make sure it is still wet or it will not turn out right) you will immediately start blotting the saran wrap onto your nail. You only need to blot the color once or twice for the look I got. Also make sure the saran wrap is not perfectly flat a crumpled piece will give off a cooler effect. So when the crumpled saran wrap touches the wet nail polish it will begin to lift off some of the top color, that is also why it is so important to make sure the bottom color is completed dried otherwise it will get pulled off as well. The amount of times you pat the saran wrap on to your nail really is up to you do it until you get the effect you are looking for.
ReplyDelete-Kayla
I would be happy to follow you! Thank you so much for the wonderful comment and taking your time to read this post. I would really appreciate it if you would follow me back thank you!
ReplyDelete